
Getsitecontrol is what I’ve been using to build my email list for the past couple of years. Noticed the popup that welcomed you when you landed on the website? It is powered by Getsitecontrol.
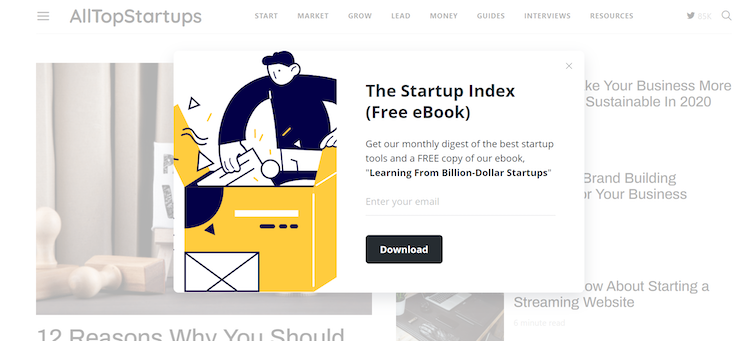
I reviewed this app on my blog a year ago. Knowing how crucial (and how challenging!) it is for any startup to collect email addresses, I wanted to share it because for me, it’s been working better than other popup builders.
Recently, the Getsitecontrol dashboard got an overhaul, and with it, the tool became way more intuitive. Now, even if you’re a complete non-techie, creating a beautiful popup for your website will be easy as a pie.
In this post, I’ll briefly review the newly-added features and walk you through the process of creating an email subscription popup using the new version of Getsitecontrol, so you could see just how fast and easy it is.
But first, let’s do a quick recap.
What is Getsitecontrol?
Getsitecontrol is a no-code website popup builder. It allows you to quickly create popups, slide-ins, sticky bars and buttons.
You can use those popups for making website announcements, driving visitors to a particular page, and capture their information. The most popular types of popups created in Getsitecontrol are email subscription forms, contact forms, and surveys. However, you can modify any of them according to your needs. For instance, by tweaking a couple of fields, you can build an order collection form, a callback request form, a lead magnet promo, an upselling popup, or anything else.
If you are using WordPress, like me, you can find the Getsitecontrol plugin in the WP plugin directory, so there is no need to deal with the code and the setup.
What makes Getsitecontrol special?
If you’ve ever searched for a website popup tool, you know that there are quite a few similar solutions on that market. So, you’re probably wondering what makes Getsitecontrol so special. The short answer is versatility.
Apart from offering an intuitive dashboard that allows you to customize every detail of the popup appearance, this app also provides full control over how and where those popups display on your website. For example, not only can you trigger popups based on visitors’ behavior on your website (time spent on a page, scroll depth, exit-intent), but you can also target different audience segments based on their location, language, referral source, the number of pages visited, and other parameters.
What does the new version bring?
This year’s upgrade has brought so many improvements, it would take an entire blog post to cover them. For a quick overview, I’ve narrowed down to the most exciting features:
Remastered dashboard
The new dashboard is wizard-based and built with non-techies in mind. There are pre-designed layouts and presets at each step, so creating a popup from scratch takes a couple of minutes only.
Plus, there is an extensive gallery of quality images from Unsplash, a CSS editor, and a dedicated tab for customizing popup mobile appearance.
Popup template gallery
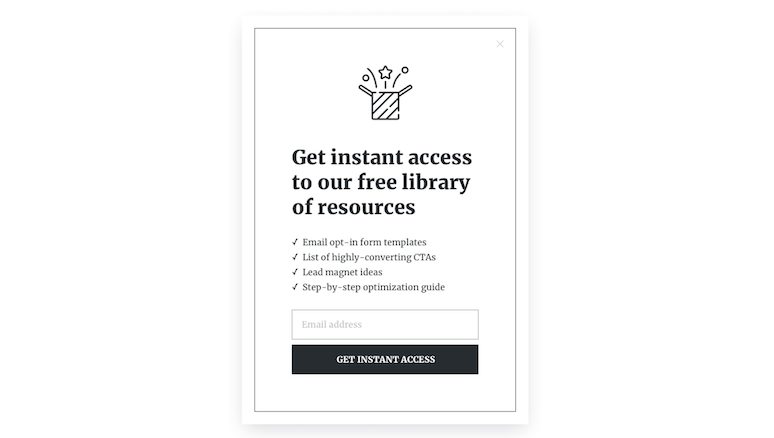
For those looking for ready-made popups, there is now a template gallery available right on the website. It includes dozens of email subscription forms designed in different styles, various types of surveys and customer feedback forms, promo announcement popups, and more.
This is by far the most exciting update because you can literally add any template to your Getsitecontrol dashboard in just one click, and then, publish it on your website within another couple of clicks.
You can select any template to see it in action and then add it straight to your dashboard if you like how it looks.
Fullscreen popups
Previously, Getsitecontrol only allowed for creating modals that pop up in the middle of the screen and barely cover the content of the page. In addition to those, the new version brings fullscreen popups (often called welcome mats). Fullscreens take up the entire webpage and provide more space to convey your message. If you use fullscreen popups for conducting surveys, they also create a distraction-free form submission experience.
Shareable online forms
A new handy tool named “Get link” is now available in the admin dashboard. It allows you to generate a direct link to each popup and share it via social media, email, or mobile messengers. When you want to invite your email subscribers to participate in a survey or ask social media followers to join your email list, you can use the new tool and send them the form directly.
More sophisticated targeting
Although Getsitecontrol already had a powerful targeting feature set, it has just got another layer of versatility. Now, you can apply more precise audience segmentation by combining various targeting rules and using “AND” and “OR” operators.
How to create an email subscription popup in Getsitecontrol
Now that you have an idea of what Getsitecontrol is all about, let’s see how you can add a popup to your website. I’ll be creating a minimalistic email newsletter popup because this is the most popular option. However, keep in mind that the process will look practically the same for any other form type.
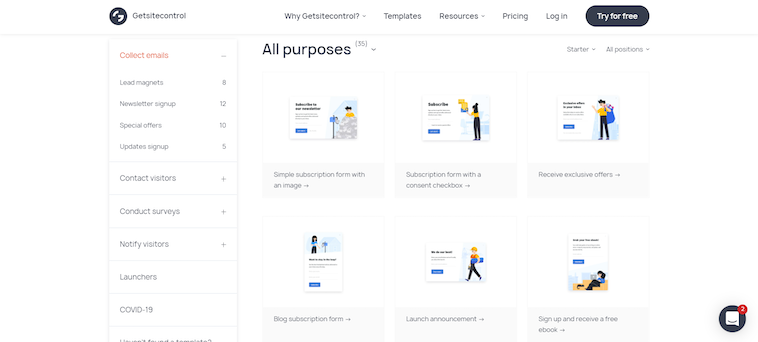
Step 1. Choose a template
When you get started, you first need to choose the purpose of your popup: email collection, contact form, survey, or website notification. Next, using the menu in the top left corner, you can select a webpage position for your popup: modal, fullscreen, slide-in, bar, or panel.
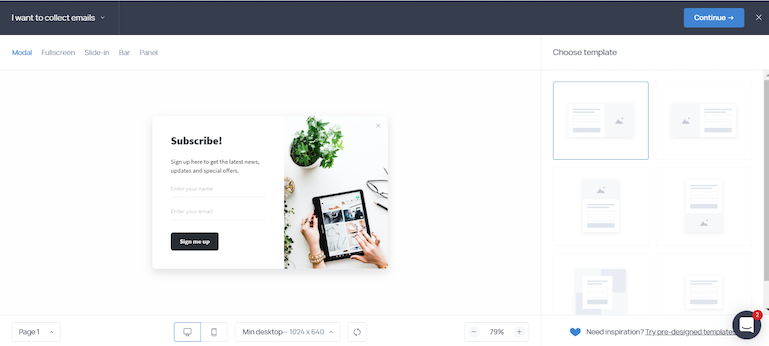
Finally, you pick one of the layout templates on the right and continue to the next step where you’ll be able to change the copy and modify the appearance of your popup.
Step 2. Adjust the copy
Once you’ve selected the layout for your popup, you get access to the following tabs: Content, Appearance, Targeting, Notifications, and Integrations.
On the Content tab, you can type your own copy, add, remove, or modify the fields on your form. For instance, you can add checkboxes, radio buttons, dropdown menus, and more text fields, if you’d like.
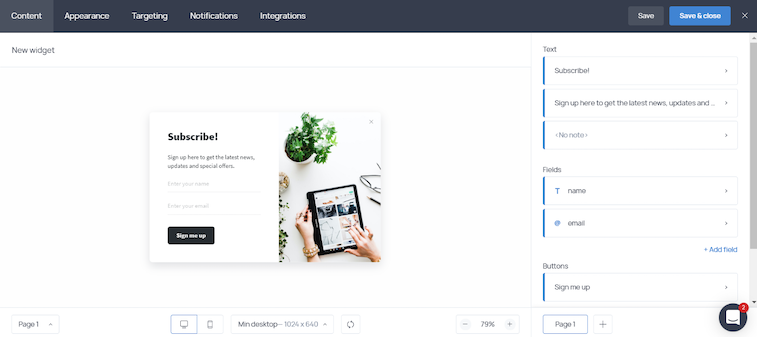
You can also customize the call-to-action by adding a second (negative) button that says something like “No, I don’t want to join your email list”.
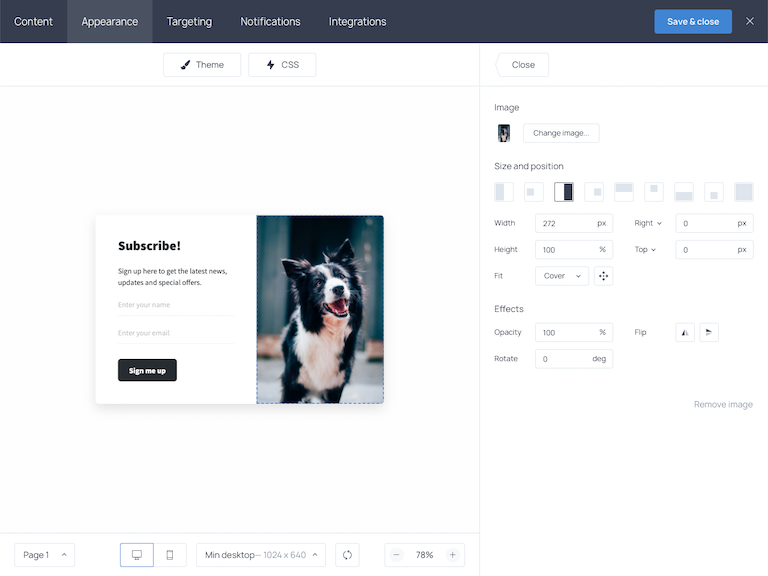
Step 3. Customize the appearance
The new dashboard provides plenty of ways to adjust the appearance of the popup. It includes the Theme and CSS editors to help you achieve a better matching style as well as a Mobile appearance tab.
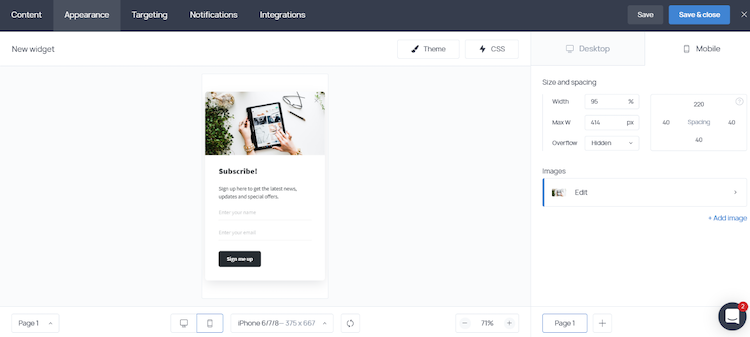
The latter allows you to preview the popup on various mobile device screens and adjust its sizing if you notice that the experience might not meet your expectations. On the Appearance tab, you can also create additional pages. For instance, you can display a Thank you page or a follow-up survey for your new subscribers once they submit the form.
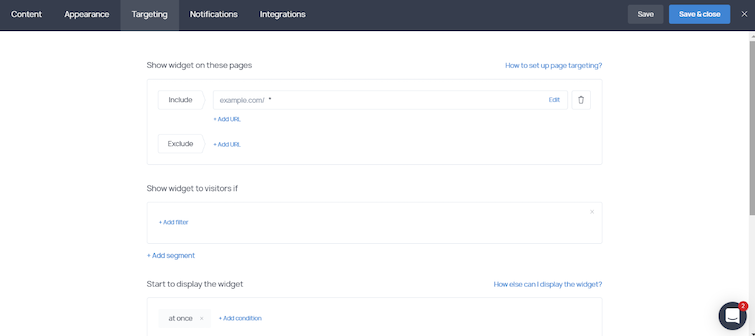
Step 4. Decide when to display the popup
The last three tabs can be considered optional because, at this point, the popup is ready to go live. Once you hit Save and Activate, it will be added to every page of your website and displayed to every visitor as soon as they arrive.
If you’d like to display the popup on selected pages or if you want to set conditions that would trigger it – you can do that on the Targeting tab. For example, instead of displaying it at once, you may want to wait until a visitor spends a few seconds on the website or heads to exit.
The Notifications tab allows you to set an autoresponder – a message that will be sent to every new subscriber automatically even if you haven’t connected your email marketing software yet. And if you already have chosen an email marketing app, you can integrate it with your email subscription popup using the last tab, called Integrations. This way, subscribers will be automatically sent the list of your choice.
Getsitecontrol pricing
Getsitecontrol has three subscription plans and a 7-day trial period.
Each plan brings all the features available in the app, and the prices only vary based on your website traffic volume. Depending on how many views you expect a popup to receive, you can choose among the $7, $14, and $28 monthly plans.
Given that you get a whole pack of tools for user engagement, it might become a great investment to your website growth.